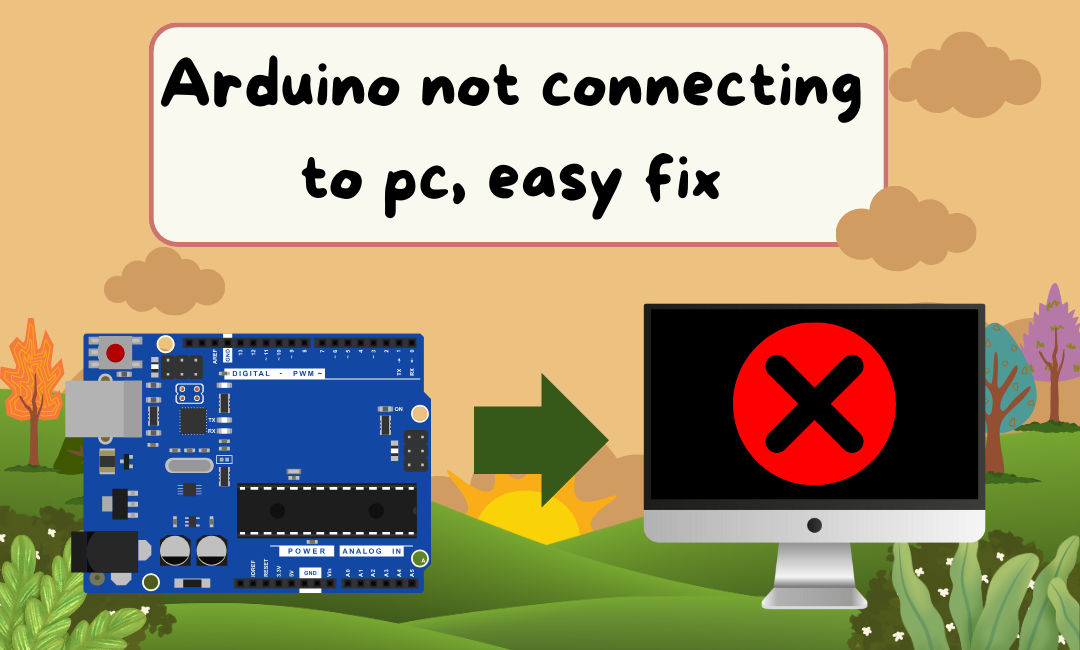
Introduction on arduino not connecting to computer
Arduino boards are essential tools for electronics enthusiasts and professionals. However, one common issue that many users encounter is the Arduino not connecting to computer. This problem can be frustrating, especially when you’re eager to start your project. This detailed guide will help you troubleshoot and resolve connection issues, ensuring your Arduino is back to functioning correctly.
Understanding the Problem
When your Arduino fails to connect to your computer, several factors could be responsible. These range from simple issues like a faulty USB cable to more complex ones such as driver problems or a corrupted bootloader. Let’s explore each potential issue in detail and provide solutions to help you get your Arduino connected.
1. Check the USB Cable and Ports
USB Cable
The first and simplest step is to check your USB cable. A faulty cable is a common culprit for connection issues. Ensure the cable is securely connected to both the Arduino and the computer. If possible, try using a different USB cable to rule out any defects.
USB Ports
Sometimes, the USB port on your computer might be the issue. Try connecting your Arduino to a different USB port. If you’re using a USB hub, connect the Arduino directly to the computer to eliminate the hub as a potential problem source.
2. Software Setup and Updates
Arduino IDE
Ensure that you have the latest version of the Arduino IDE installed. An outdated IDE can sometimes cause compatibility issues. You can download the latest version from the official Arduino website.
Drivers
Proper drivers are crucial for your Arduino to communicate with your computer. When you install the Arduino IDE, it typically includes the necessary drivers. However, sometimes these drivers might not install correctly, especially on Windows. Here’s how to check and install the drivers:
- Windows: Go to Device Manager and look for your Arduino under “Ports (COM & LPT)”. If you see a yellow warning sign, right-click on it and select “Update driver”. Choose “Search automatically for updated driver software”.
- Mac: Open Terminal and type
ls /dev/tty.*. Look for entries like/dev/tty.usbmodemor/dev/tty.usbserial. If these are not present, you might need to install the drivers manually from the Arduino website.
3. Board and Port Selection in Arduino IDE
Selecting the Correct Board
Open the Arduino IDE and go to Tools > Board. Ensure that you select the correct board model you are using. For example, if you are using an Arduino Nano, select “Arduino Nano” from the list.
Selecting the Correct Port
Next, go to Tools > Port. Select the port that corresponds to your Arduino. This step is crucial for the IDE to communicate with your board.
4. Power Supply Issues
Ensure your Arduino is receiving adequate power. Sometimes, powering the Arduino through an external power source, rather than just the USB connection, can resolve connection issues. Check the power LED on your Arduino to confirm it’s powered up.
5. Resetting the Arduino
Press the reset button on your Arduino to restart it. This can sometimes resolve connection issues by resetting the board’s state.
6. Reinstall the Arduino IDE
If you’ve tried the above steps and your Arduino still isn’t connecting, consider reinstalling the Arduino IDE. Uninstall the current version, restart your computer, and then install the latest version from the Arduino website.
7. Check for Conflicts with Other Devices
Disconnect other USB devices to rule out any conflicts. Sometimes, other connected devices can interfere with the Arduino’s ability to connect.
8. Bootloader Issues
If none of the previous steps work, the bootloader on your Arduino might be corrupted. Reflashing the bootloader can be done using another Arduino as an ISP programmer or a dedicated programmer. You can follow the detailed guide on the Arduino website.
9. Test on Another Computer
To determine if the issue is with your Arduino or your computer, try connecting the Arduino to another computer. If it works, the problem lies with your original computer setup. If it doesn’t, the Arduino might have a hardware issue.
Conclusion
Troubleshooting an Arduino that won’t connect to your computer can be a straightforward process if you systematically go through these steps. Start with the simplest solutions, like checking the USB cable and ports, then move on to more complex ones like reinstalling drivers and the Arduino IDE. If all else fails, testing on another computer or reflashing the bootloader might be necessary.
Final Tips
- Regular Maintenance: Keep your Arduino IDE and drivers updated to avoid compatibility issues.
- Quality Accessories: Use high-quality USB cables and ensure your Arduino is powered adequately.
- Documentation: Refer to the official Arduino documentation and forums for specific issues and solutions.
By following this guide, you should be able to diagnose and fix the connection issues with your Arduino, allowing you to continue with your exciting projects without interruption. Happy tinkering!
By implementing these strategies, you ensure that your blog post is not only informative but also optimized for search engines, helping users find the solution they need when their Arduino isn’t connecting to their computer.