Water Moisture Monitor Project
Are you interested in gardening or farming? Soil water sensor used in Monitoring soil moisture is crucial for maintaining healthy plants. Overwatering or underwatering can harm plant growth, so having a reliable soil moisture meter is beneficial. In this blog post, we will guide you through building a soil moisture meter using an Arduino and an I2C 16×2 LCD display. This project is simple and a great way to learn about Arduino and sensor integration.
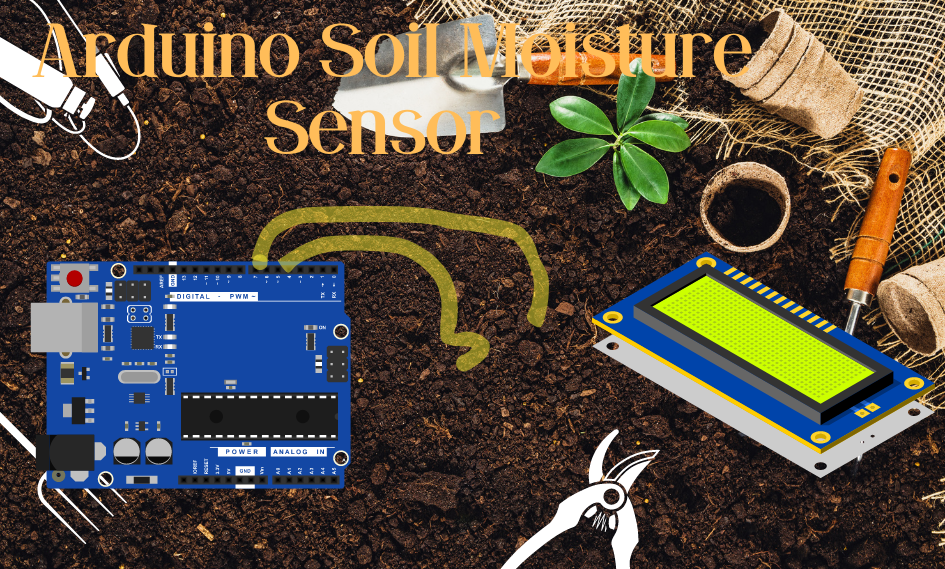
Materials Needed
- Arduino board (e.g., Arduino Uno)
- Soil moisture sensor module
- I2C 16×2 LCD display
- Jumper wires
- Breadboard (optional)
- Power source (e.g., USB cable)
Circuit Diagram and Connections
First, let’s set up the circuit. We’ll connect the soil moisture sensor and the I2C LCD to the Arduino.
Soil Moisture Sensor:
- VCC: Connect to the 5V pin on the Arduino.
- GND: Connect to the GND pin on the Arduino.
- AO (Analog Output): Connect to the A0 pin on the Arduino.
I2C LCD:
- VCC: Connect to the 5V pin on the Arduino.
- GND: Connect to the GND pin on the Arduino.
- SDA: Connect to the A4 pin on the Arduino (or the dedicated SDA pin if available).
- SCL: Connect to the A5 pin on the Arduino (or the dedicated SCL pin if available).
Your setup should look something like this:
 (Note: Replace with an actual diagram URL)
Writing the Code
Now that we have the hardware set up, it’s time to write the code. We’ll use the LiquidCrystal_I2C library to control the LCD display. If you don’t have this library installed, you can install it via the Arduino IDE Library Manager.
- Install the LiquidCrystal_I2C Library:
- Open the Arduino IDE.
- Go to
Sketch>Include Library>Manage Libraries. - In the Library Manager, search for “LiquidCrystal_I2C”.
- Install the “LiquidCrystal_I2C” library by Frank de Brabander.
- Write the Code:
#include <Wire.h>
#include <LiquidCrystal_I2C.h>

const int sensorPin = A0; // Define the analog pin connected to the sensor
int sensorValue = 0; // Variable to store the sensor value

// Set the LCD address to 0x27 for a 16 chars and 2 line display
LiquidCrystal_I2C lcd(0x27, 16, 2);

void setup() {
  Serial.begin(9600); // Initialize serial communication at 9600 baud rate
  lcd.begin(); // Initialize the LCD
  lcd.backlight(); // Turn on the backlight
  lcd.setCursor(0, 0); // Set the cursor to the first column, first row
  lcd.print("Soil Moisture:"); // Print a static message
}

void loop() {
  sensorValue = analogRead(sensorPin); // Read the analog value from the sensor
  Serial.print("Soil Moisture Level: ");
  Serial.println(sensorValue); // Print the sensor value to the Serial Monitor

  // Update the LCD display
  lcd.setCursor(0, 1); // Set the cursor to the first column, second row
  lcd.print("Level: ");
  lcd.print(sensorValue); // Print the sensor value
  lcd.print("    "); // Print spaces to ensure previous values are cleared

  // Add a delay for stability
  delay(1000); // Wait for 1 second before reading the sensor again
}
Explanation
LiquidCrystal_I2C lcd(0x27, 16, 2);: Initializes the I2C LCD with the address 0x27 (common for many I2C LCD modules) and specifies the LCD size (16 columns, 2 rows).lcd.begin();: Initializes the LCD.lcd.backlight();: Turns on the LCD backlight.lcd.setCursor(0, 0); lcd.print("Soil Moisture:");: Sets the cursor position and prints a static message on the LCD.lcd.setCursor(0, 1); lcd.print("Level: "); lcd.print(sensorValue);: Sets the cursor to the second row and prints the sensor value.
Testing Your Project
- Connect the Arduino to your computer using a USB cable.
- Open the Arduino IDE and upload the code to the Arduino.
- Open the Serial Monitor (Tools > Serial Monitor) to see the soil moisture level readings.
- Observe the soil moisture level displayed on the I2C LCD.
When you place the soil moisture sensor in the soil, it will read the moisture level and display the value on the LCD. The analog value read from the sensor will range from 0 to 1023, where 0 indicates completely dry soil and 1023 indicates completely wet soil. You can calibrate these values based on your specific sensor and soil type.
Expanding the Project
This project can be expanded in many ways:
- Automatic Watering System: You can add a relay module to control a water pump based on the soil moisture level.
- Wireless Monitoring: Use an ESP8266 or similar module to send the data wirelessly to a web server or mobile app.
- Data Logging: Log the moisture levels over time to an SD card or send them to a cloud service for analysis.
Conclusion
Building a soil moisture meter with an Arduino and an I2C LCD display is a great way to learn about sensor integration and display management. This project provides a practical solution for monitoring soil moisture levels, ensuring your plants get the right amount of water. With a few additional components and some creativity, you can expand this project to automate your watering system or even create a wireless monitoring setup.
We hope you enjoyed this tutorial and found it helpful. Happy gardening and coding!